How To Change Brake Light Hyundai Elantra 2017
Hyundai Elantra Tail Light Bulbs Replacement Guide
How to change a burnt out brake, rear turn signal or side marker light bulb in a 6th generation 2017 to 2020 Elantra.

2018 Elantra Tail Lights

Open Trunk Lid
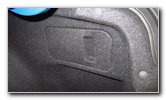
Fabric Access Cover
Owners of other Hyundai, Genesis or Kia vehicles such as the Sonata, Accent, Veloster, Ioniq, Kona, Nexo, Venue, Tucson, Santa Fe, Palisade, G70, G80, G90, Soul, Sportage, Niro, Sorento, Telluride, Rio, Forte, Optima, Stinger, Cadenza, K900, Sedona and Seltos may also find these DIY instructions to be helpful.
The compatible replacement light bulb part numbers are as follows: Brake # P21/5W (also known as 7528), Rear Turn Signal # 1156A or 1156NA (Amber) and Rear Side Marker # 2825 (also known as W5W).
If you would like to have brighter tail lights, install some P21/5W LED, 1156A LED and 2825 LED bulbs.
The tools needed to remove the tail light housing in order to access and replace the bulbs include a 10mm socket with a 1/4" drive ratchet or a 10mm wrench and possibly a plastic pry bar tool.
The first two steps are to open the trunk lid and then move to the side of the car with the burnt out light bulb.
(If you need to replace the bulbs in the trunk lid housing, check out the 2017-2020 Hyundai Elantra Reverse & Parking Light Bulbs Replacement Guide.)
Look inside the trunk and locate the rectangular shaped fabric access cover attached to the cargo area liner just in front of the tail light housing.
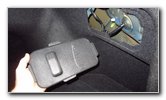
Pull Out Access Panel
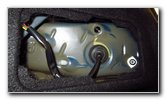
Locate Two Nuts
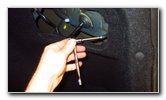
Loosen Counterclockwise
Locate the two small nuts that secure the tail light housing to the rear corner of the vehicle.
Loosen the nuts by turning them in the counterclockwise direction with a 10mm socket and a 1/4" drive ratchet.
I found that using a short extension bar made it easier to loosen the nuts.
(On some model years, the two nuts may require an 8mm socket instead of a 10mm socket.)
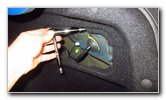
Remove Second Nut
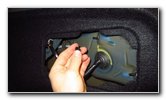
Spin Off By Hand
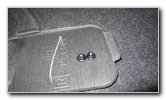
Two Nuts Removed
Set the two nuts aside in a safe place.

Pull Housing Off Car
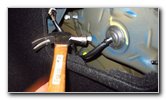
Tap To Loosen Two Pegs
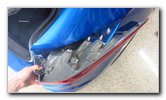
Light Housing Removed
The tail light housing is still held in place by two pegs inserted into plastic grommets and a slot attached to the button head of a plastic pop rivet.
If you have trouble loosening the friction fasteners, use a hammer or the handle of a screwdriver to tap on the pegs from within the cargo area.
You can also use a plastic pry bar tool to very carefully and gently pry along the outer edge of the tail light housing. Avoid using excessive force to prevent from cracking the lens cover.
Once you loosen the friction fasteners, slide the tail light housing straight off the rear corner of the vehicle.
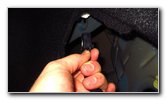
Disconnect Power Plug
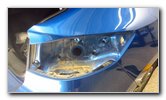
Rear Corner of Vehicle
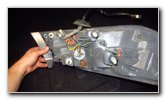
Back Side of Housing
Gently remove the rubber grommet and the electrical connector from the hole behind the tail light housing.
Set the tail light housing down on a soft surface such as inside the trunk to prevent from scratching the lens cover.
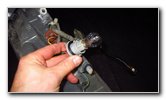
Brake Light Bulb Socket
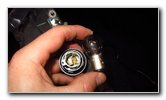
Push Down & 1/4 Turn CC
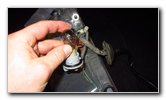
Install New Light Bulb
Rotate the bulb socket 1/4 turn in the counterclockwise direction before pulling it straight out of the housing.
Push the old bulb down into the socket and rotate it 1/4 turn in the counterclockwise direction before pulling it straight out.
Push a new bayonet style number P21/5W light bulb down into the socket and rotate it 1/4 turn in the clockwise direction to secure it into place.
If you would like to have brighter brake lights, install some compatible replacement P21/5W LED bulbs.
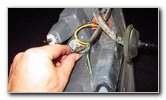
1/4 Turn Clockwise - Lock
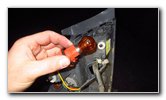
Rear Turn Signal Light
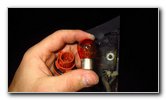
Push Down 1/4 Turn CC
The orange plastic bulb socket contains the rear turn signal light bulb.
Rotate the bulb socket 1/4 turn in the counterclockwise direction before pulling it straight out of the housing.
Push the old light bulb down into the socket and rotate it 1/4 turn in the counterclockwise direction before pulling it straight out of the socket.
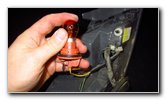
Install New Turn Signal
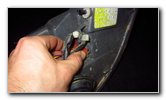
1/4 Turn Clockwise - Lock
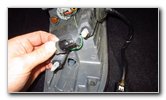
Rear Side Marker Bulb
If you would like to have brighter rear turn signal lights, install some compatible replacement 1156A LED bulbs.
Re-insert the rear turn signal light bulb socket into the housing and rotate it 1/4 turn in the clockwise direction to secure it into place.
The small bulb socket on the outer corner of the light housing contains the rear side marker bulb.
Rotate the bulb socket 1/4 turn in the counterclockwise direction before pulling it straight out of the housing.
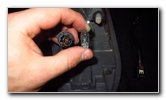
Pull Out Old Light Bulb
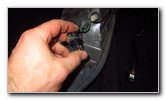
Push In New Light Bulb
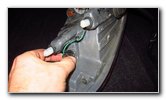
1/4 Turn Clockwise - Lock
Push a new miniature wedge base number 2825 light bulb straight into the socket.
If you would like to have brighter rear side marker lights that will also last a lot longer before burning out, install some compatible replacement 2825 LED bulbs.
Re-insert the bulb socket into the housing and rotate it 1/4 turn in the clockwise direction to secure it into place.

Insert Plug & Wires
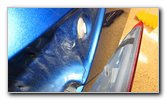
Line Up Slot & Pop Rivet
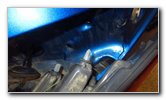
Line Up 2 Pegs & Holes
Insert the electrical connector through the opening in the sheet metal and through to the cargo area.
Secure the rubber grommet on the wiring loom to the opening in the sheet metal to keep rain water from entering the cargo area.
Line up the slot and two pegs on the rear of the tail light housing with the pop rivet button head and the two small holes on the rear corner of the vehicle.
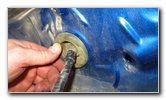
Secure Rubber Grommet

Slide On Tail Light Housing
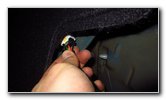
Push In Power Plug
Move to the inside of the trunk.
Push the electrical connector straight into the socket until you hear or feel it "click" securely into place.
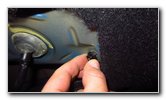
Spin On Two Nuts
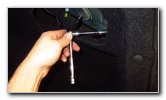
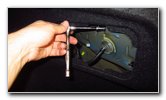
Tighten Clockwise
Tighten the two nuts in the clockwise direction with the 10mm socket and a 1/4" drive ratchet until they are snug.
(Some model years may be equipped with 8mm nuts instead of 10mm fasteners.)
Try to avoid over tightening the nuts to prevent from cracking the plastic tail light housing.
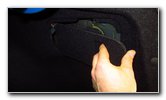
Replace Access Cover
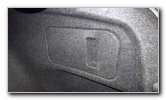
Access Cover Secured

Test New Tail Light Bulbs
To test the new tail light bulbs, have an assistant step on the brake pedal, turn on the parking lights and activate the hazard signals.
Check out my 2017-2020 Hyundai Elantra Reverse & Parking Light Bulbs Replacement Guide if you need to change those bulbs in the light housing attached to the trunk lid.
For more, please check out all of my 2017-2020 Hyundai Elantra DIY Repair & Maintenance Guides.
How To Change Brake Light Hyundai Elantra 2017
Source: https://paulstravelpictures.com/2017-2020-Hyundai-Elantra-Tail-Light-Bulbs-Replacement-Guide/index.html
Posted by: flahertywifearmas.blogspot.com

0 Response to "How To Change Brake Light Hyundai Elantra 2017"
Post a Comment